Dumping BIOS
This section will help you dump the BIOS files that are required for PCSX2 to run.
In order for PCSX2 to function properly, both a legitimate BIOS and copies of games must be obtained from your own PlayStation 2 console and original PlayStation 2 discs respectively.
How to dump your PS2 BIOS
The following explains the recommended ways to accomplish both of these tasks.
Dumping your PS2 BIOS is conceptually a two-step process:
- Modify the operation of your PS2 so that it can run any program.
- Then you can run a "BIOS dumper" utility program on your PS2 that reads its BIOS and writes it to a USB drive.
There is a generally useful program, uLaunchELF, that lets you browse memory cards, DVDs, and USB drives connected to a PS2 and run programs from them. So for most of the approaches below, you use uLaunchELF to then run the BIOS dumper.
Popular approaches to modify PS2 operation
- FreeMcBoot Memory Card
- Works for all but the newest (9xxxx serial number with a date code larger than 8B) slim PS2s. Can be found online for ~10 USD.
- Fortuna Memory Card
- Works for all slim models. Can also be found for ~10 USD.
- FreeDVDBoot
- Works for many slim models, and some phat models. Slight effort, but free.
- You will require a blank DVD for this method to work!
- Disc swap exploits
- Technical in nature, involves hardware tampering. Guides can be found quickly by Googling.
- Mod chips
- Extremely technical, requires soldering skills. DO NOT ATTEMPT unless you are an electronics pro.
caution
Due to how modchips operate, it is possible for your BIOS dump to be incomplete or even corrupted while they are active. To guarantee a proper BIOS dump, first use your modchip to install FMCB or Fortuna. Then disable your modchip* and use one of the aforementioned exploits to launch biosdrain. *Refer to your modchips documentation to see what button combination disables your modchip.
- Extremely technical, requires soldering skills. DO NOT ATTEMPT unless you are an electronics pro.
Downloading the BIOS dumper utility
Our recommended BIOS dumper utility is biosdrain. Therefore the instructions below will be for this tool.

The download for the latest stable release of biosdrain is here.
Option 1: Starting a PS2 with FreeMcBoot
- Plug the FreeMcBoot memory card into memory card port 1
- Turn on your PS2 with no disc inside.
- Select uLaunchELF from the menu.
Option 2: Starting a PS2 with FreeDVDBoot
- Download the ISO which matches your console from FreeDVDBoot's GitHub Repo
- Burn the ISO to a DVD.
- The most generally reliable media is a DVD-R disc, burned at a slow speed (4X speed should be fine).
- Insert the burned FreeDVDBoot disc, then reset/turn on your PS2. uLaunchELF should open.
Dumping the BIOS
There are two options available when dumping the BIOS. biosdrain supports USB and HOST through PS2link. If your console does not have networking support, please refer to the USB method, otherwise you can use the ps2client method.
USB
-
Take the biosdrain.elf file that was downloaded above, and transfer it to a FAT32 formatted, with MBR Disk type (not GPT) USB flash drive.
notePlease note that some incompatibilities between certain USB drives and PS2 USB drivers have been reported throughout the years. If your USB drive is not detected by uLaunchELF (
mass:is empty) please try another one, preferably USB 2.0.- Insert your USB flash drive into your PS2.
- In uLaunchELF, navigate to the device named
mass:and open it.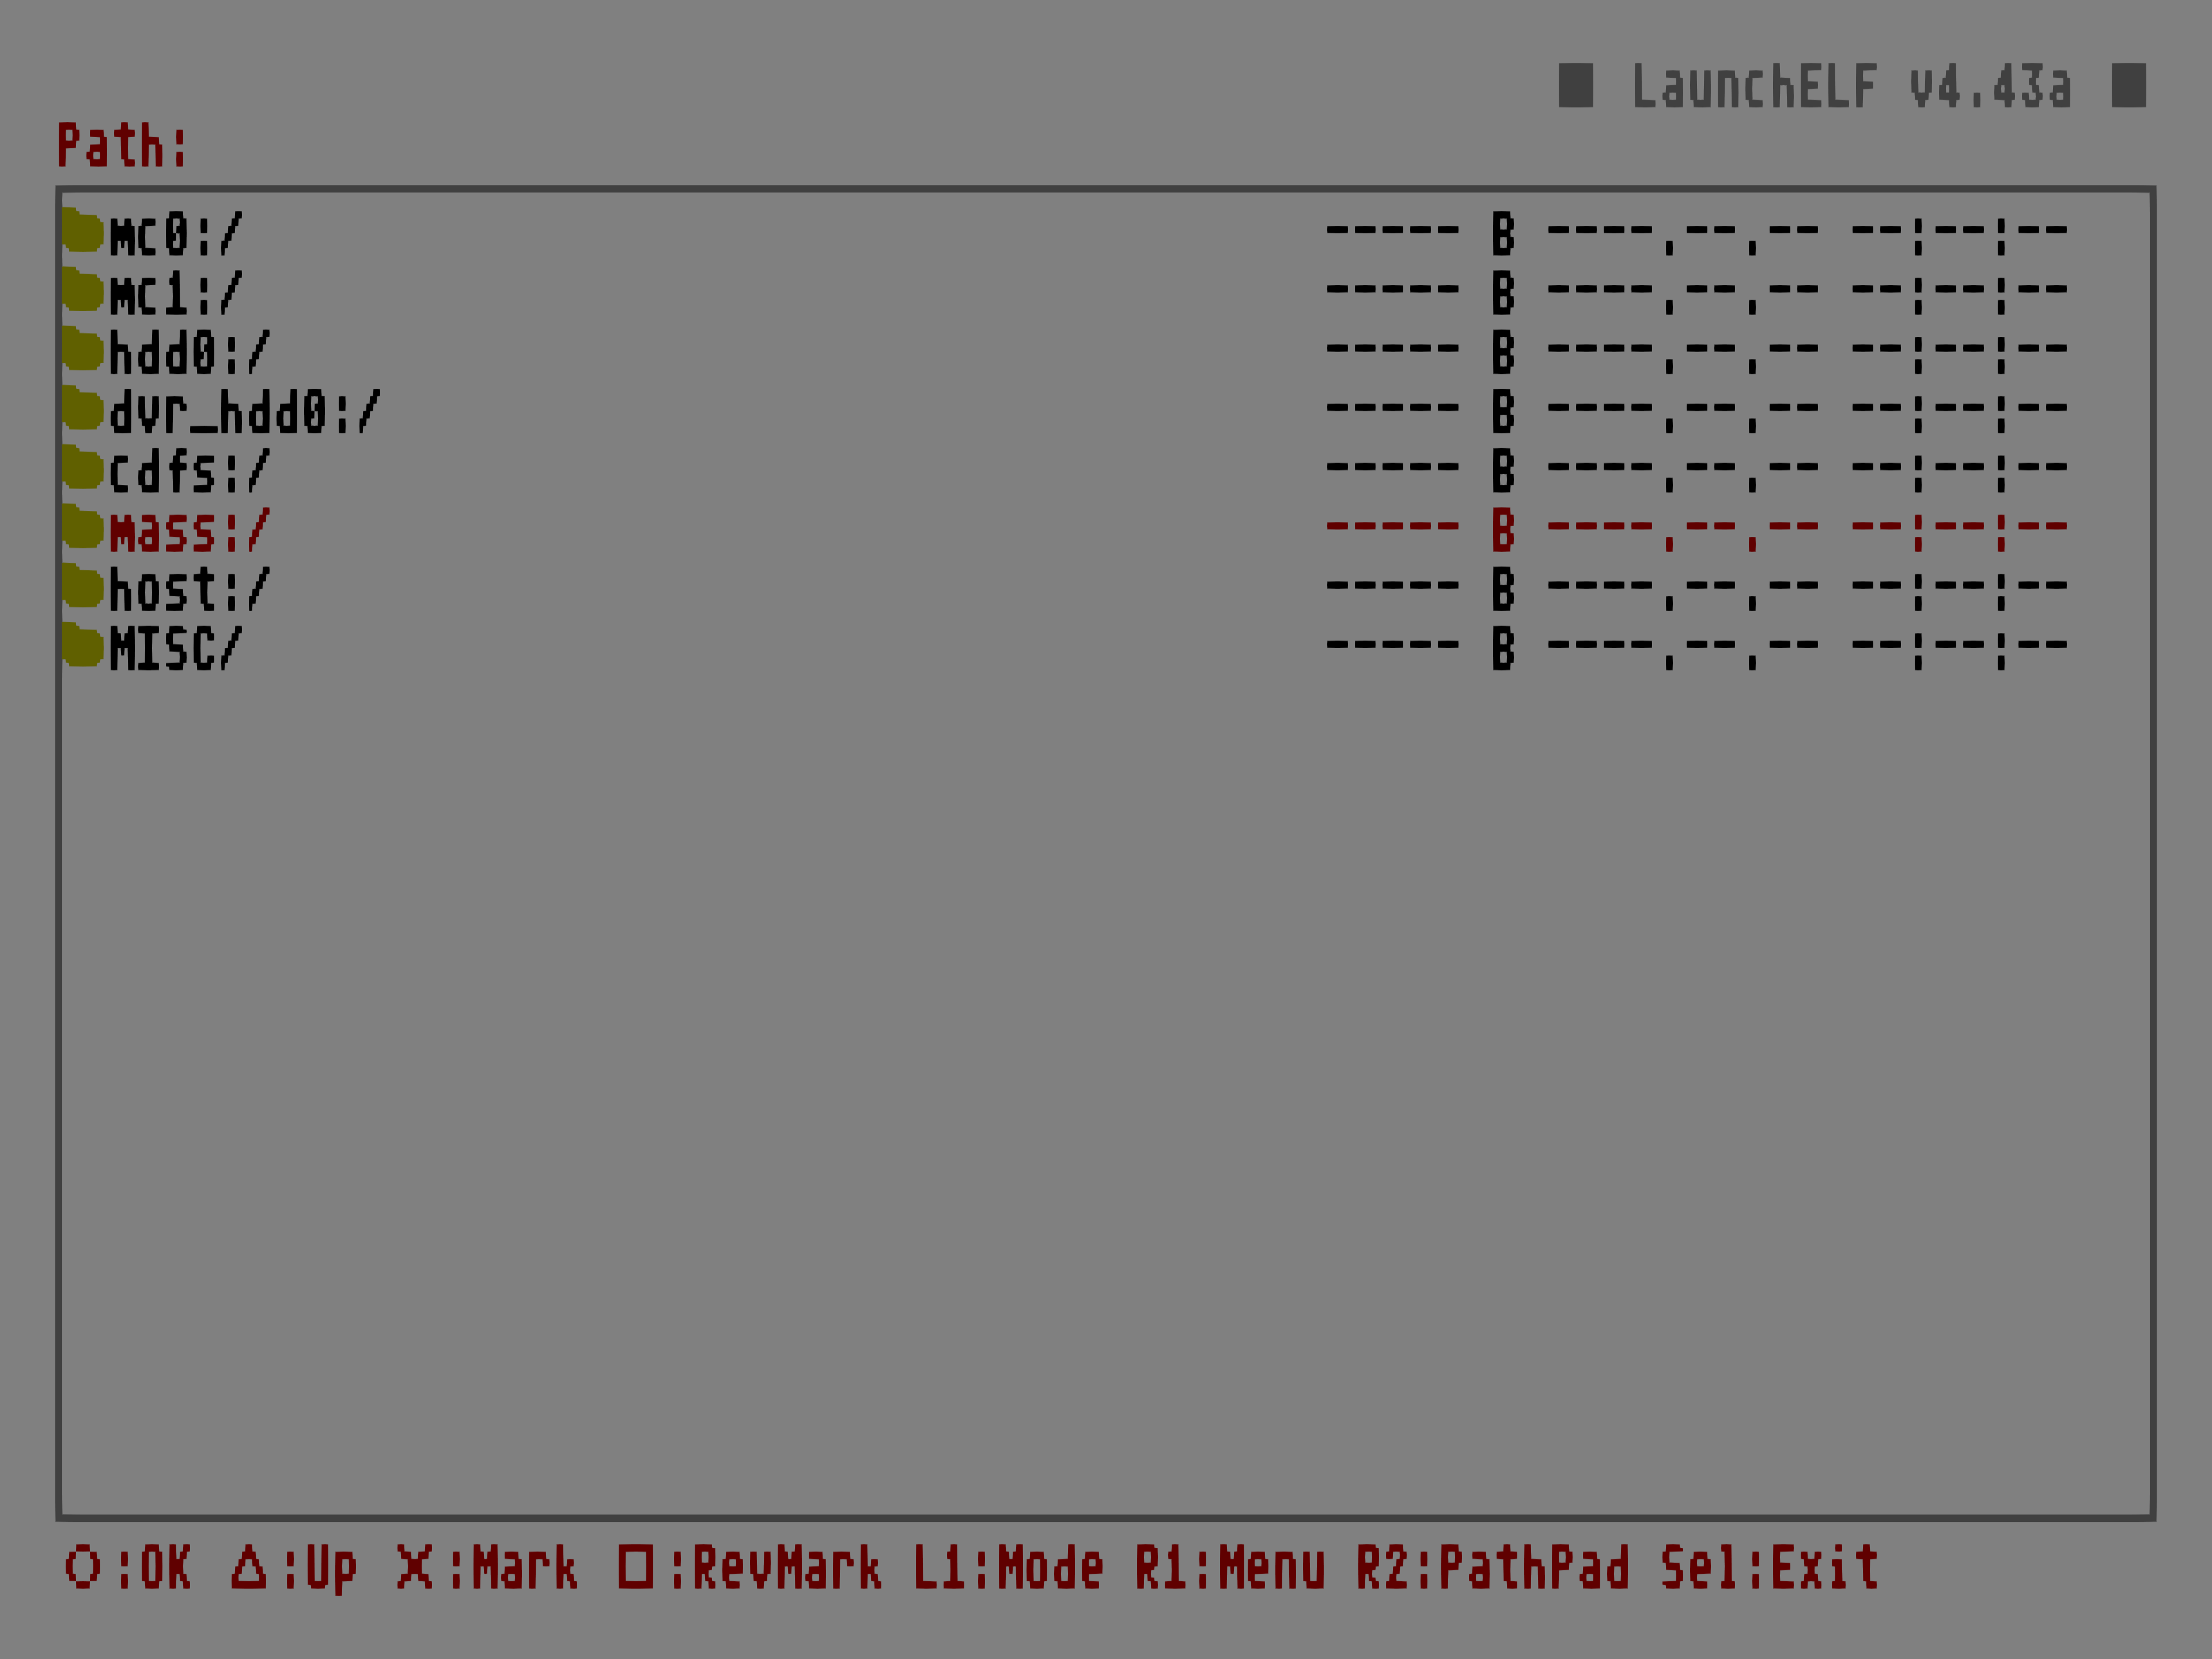
- Locate and run
biosdrain.elf. - You will know that it is finished when biosdrain says
Finished Everything. Please be patient, as USB on the PS2 is SLOW! - Once the final message appears, you can now plug the USB drive back into your computer. You will know that the dump was successful if you see files ending in
.rom0,.rom1,.nvm, etc, prefixed by your console model ID in your USB drive.
PS2client / XLINK & PS2link
- When using XLINK, simply execute the
biosdrain.elfwith the user interface.- When using PS2client, cd into the directory where you have
biosdrain.elf, and simply runps2client execee host:biosdrain.elf - biosdrain will automatically detect that the
hostdevice is present and will dump your BIOS contents to the root directory ofhost(Usually where you have the biosdrain.elf file). - You will know that it is finished when biosdrain says
Finished Everything, either on screen or in your console log.
- When using PS2client, cd into the directory where you have